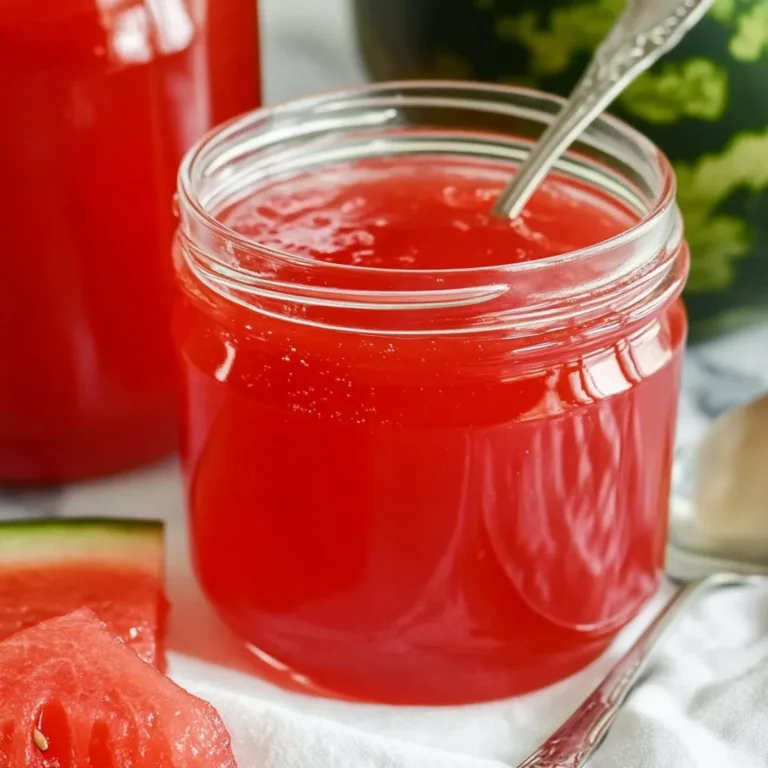
Watermelon jelly is the perfect way to savor summer’s most refreshing fruit in a whole new form. This delightful treat captures the sweet, juicy essence of watermelon and transforms it into a smooth, spreadable jelly that’s ideal for toast, desserts, or simply eating by the spoonful.
Making watermelon jelly at home is surprisingly simple and doesn’t require any fancy equipment. Whether you’re a seasoned jam maker or a newbie in the kitchen, this recipe will guide you through the process step by step. With just a few ingredients and a bit of patience, you can create a versatile condiment that tastes like sunshine in a jar.
Perfect for gifting, storing, or enjoying right away, watermelon jelly is a fantastic way to make the most of this iconic summer fruit. Let’s get started!
2. Ingredients
- 4 cups watermelon juice (from about 1 medium watermelon)
- 3 tbsp fresh lemon juice
- 1 packet (1.75 oz) powdered fruit pectin
- 4 cups granulated sugar
3. Directions
- Prepare Watermelon Juice: Blend chunks of watermelon until smooth. Strain through a fine sieve or cheesecloth to remove pulp and seeds. Measure 4 cups of juice.
- Combine Ingredients: In a large pot, mix the watermelon juice and lemon juice. Stir in the powdered pectin until fully dissolved.
- Bring to a Boil: Heat the mixture over medium-high heat until it reaches a rolling boil, stirring frequently.
- Add Sugar: Gradually stir in the sugar. Continue stirring and bring the mixture back to a boil. Boil for 1-2 minutes, ensuring the sugar fully dissolves.
- Test for Setting Point: Drop a small amount onto a chilled plate. If it gels slightly, the jelly is ready. If not, boil for another minute and test again.
- Jar the Jelly: Pour the hot jelly into sterilized jars, leaving ¼ inch of headspace. Seal with lids.
4. How to Prepare
- Juicing the Watermelon: Choose a ripe watermelon for maximum sweetness. Blend and strain thoroughly to ensure a smooth jelly.
- Sterilizing Jars: Boil jars and lids in water for 10 minutes to sterilize before filling. This step ensures your jelly stays fresh longer.
- Storing: Process sealed jars in a water bath for 10 minutes or store in the fridge for immediate use.
5. Preparation Time
- Prep Time: 20 minutes
- Cook Time: 15 minutes
- Total Time: 35 minutes
6. Servings
Makes approximately 4 half-pint jars of jelly.
7. FAQs
Q1: Can I use liquid pectin instead of powdered pectin?
Yes, but follow the specific instructions for liquid pectin, as the process may differ slightly.
Q2: How long does homemade watermelon jelly last?
Sealed jars can last up to 1 year when stored in a cool, dark place. Opened jars should be refrigerated and used within 3 weeks.
Q3: Can I reduce the sugar in this recipe?
Sugar is essential for setting and preserving the jelly. Consider using low-sugar pectin if you want to reduce sweetness.
Q4: What if my jelly doesn’t set?
Reboil the jelly with an additional 1-2 teaspoons of pectin or a tablespoon of lemon juice to help it gel.
Q5: Can I freeze watermelon jelly?
Yes! Use freezer-safe containers and leave enough space for expansion. Frozen jelly can last up to 6 months.
8. Conclusion
Homemade watermelon jelly is a delicious way to celebrate the vibrant flavors of summer. Its fruity sweetness pairs beautifully with breads, pastries, or even as a glaze for meats. With minimal effort, you can create a treat that’s as versatile as it is delightful.
Whether you’re a fan of preserving seasonal produce or simply looking for a new culinary project, this recipe is a must-try. Store it in jars for year-round enjoyment or share it with loved ones as a thoughtful homemade gift.
Every spoonful of watermelon jelly bursts with the essence of summer sunshine. Give it a try and add a splash of sweetness to your day!

